One of the great things about Redlands (where we live) is the abundance of citrus fruits. The joy of being able to eat home grown fruits and the intoxicating smell of the orange blossom which cloaks the town in spring really feels special.
Many people have stalls at the front of their houses selling their citrus fruits and other produce from their gardens. I have my favourite stall which sells satsumas, oranges, pink navel oranges and our households favourite, blood oranges. As far as I know its the only one in Redlands that sells blood oranges. Fortunately it is on our route to play school so we watch with anticipation for the sign to go up that the blood orange season has started. We all squealed with delight (seriously!) when on Friday the day had come.
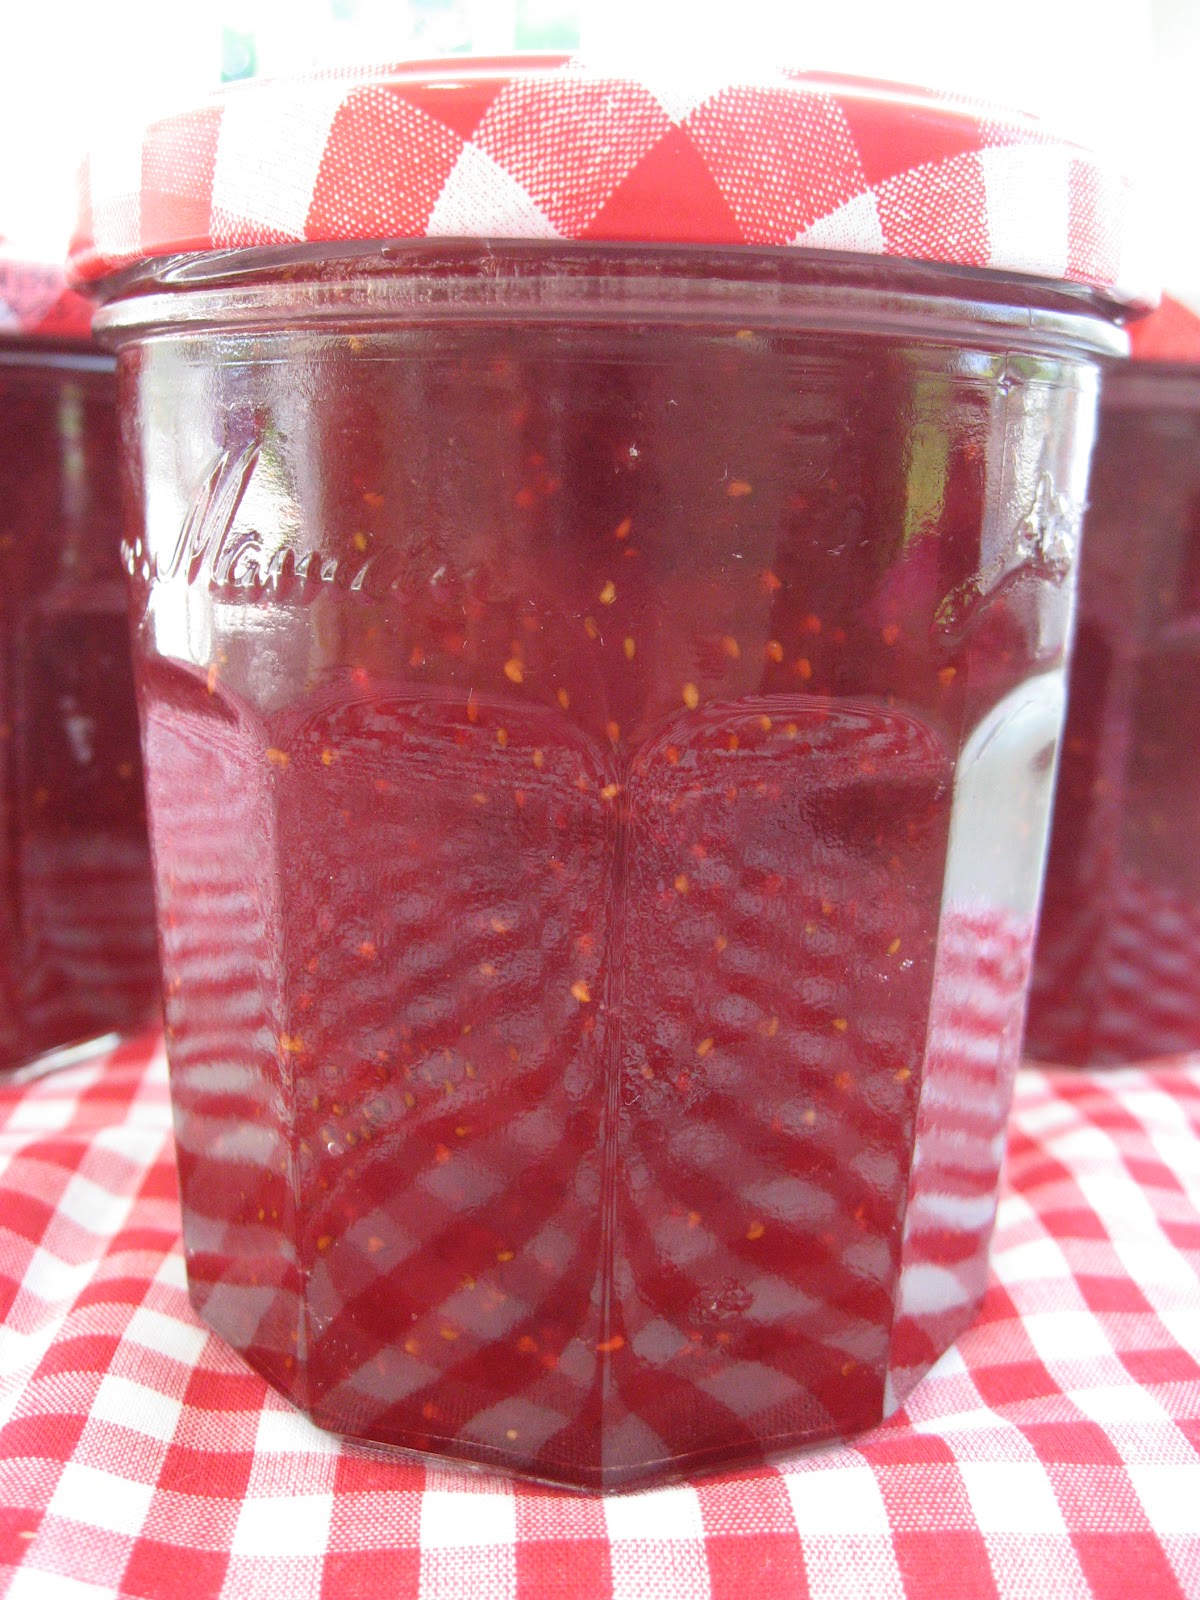
This is the first time I have made marmalade with blood oranges. I have made the more traditional version with Seville oranges back in the UK. The recipe I use is from Riverford (oh how I miss their veg boxes) whilst still keeping an eye on Delia.
Marmalade really is a labour of love. It can not be rushed and indeed I would allow a good chunk of the day to make it. But of course this is the pleasure of making marmalade, it does take all day and is all consuming. And the added bonus is the house is filled with a delicious aroma from the first zesty squeezed orange to the syrupy smell from the final rapid boil.
Blood Orange Marmalade
6 cleaned jam jars
waxed discs
1.5 kgs of blood oranges (or any other citrus fruit)
2 lemons
2kg granulated sugar (approx)
4 pints of water
muslin & string
Cut the oranges & lemons (I didn't have lemons so used limes) in half and juice. I ended up doing it by hand to extract all the juice & goodness. Put the muslin over a bowl and throw in any pith & pips that come out during the squeezing.
Using a teaspoon scrap all the remaining pith from the skins and put in the muslin. Tie up the muslin with the pith & pips inside to make a little bag. Next stage is the cutting up of the skins. It is a matter of taste how finely you like yours sliced, I prefer a decent chunk of peel with my marmalade on toast. Cut the halves into quarters and then slice.
 |
| How stunning are these colours?! |
Put the shredded peel and juice in a large heavy bottomed pan with 4 pints of water with the muslin bag tied to the handle & suspended in the pan. Bring to the boil and simmer uncovered for about 2 hours, or until the peel is completely soft (it should turn to mush between your fingers).
Remove the muslin bag & set aside on a plate. Measure the contents of the pan, it will be about 3 pints. Return the peel & liquid to the pan (don't bother to wash it) and for every pint of liquid add a pound of sugar to the pan. This makes a sharp tasting marmalade, you may want to add more sugar if you like it sweeter. Stir over a low heat until the sugar has dissolved, about 15 mins. Hold the muslin bag between 2 plates (if its too hot to handle) and squeeze out the precious pectin loaded juice into the pan.
Bring the mixture to a rapid boil and stir occasionally to stop it sticking & catching on the bottom. Now is the time to put a plate in the freezer. After 15 minutes of rapid boiling give it a test by putting a drop on the chilled plate. If it wrinkles its set, if not boil again for another 15 minutes. A picture of this would be helpful, sorry forgot. This batch took 30 minutes of boiling. I have got a thermometer which helps; you need to get to a temperature of 220F (or thereabouts) but I still do the wrinkle test. It can take up to 50 minutes of boiling so be patient!
When you satisfied you have reached setting point turn off the heat and leave it to stand for 15 minutes. At this point put the jars & lids into a cool oven (about 200F) to warm. Don't worry about the scum; you can either scrap it off the top or put a knob of butter in to the pan to disperse it. Then using a jam funnel & a ladle decant your lovely marmalade into the warmed jars. Cover with the waxed disc's immediately and screw on the lids to seal.
I can't wait until breakfast to spread some sunshine onto my toast. Just need Mr Maker to finish making the bread...